
Mini split systems have become a common choice for heating and cooling homes. They are efficient, quiet, and flexible. Many homeowners start researching how to install a mini-split because they want a system that works well in a single room, an addition, or a whole home without ductwork.
But there’s something important to say right away: installing a mini split is not a DIY job. These systems involve electrical work, refrigerant handling, and precise setup. In most cases, the best approach is to understand the process—so you know what’s happening in your home—while leaving the actual installation to a trained HVAC professional.
Below is a clear look at how to install a mini-split system, step by step, and why professional installation matters.
A mini split has two main parts:
The two units connect through a small conduit that contains refrigerant lines, electrical wiring, and a condensate drain. Because there’s no ductwork, the system can heat or cool specific areas of your home.
When people search for how to install a mini-split, they usually want to know how these pieces come together. The process is straightforward in theory, but it requires precision and specialized tools.
The first step in how to install a mini-split is selecting the best locations for the indoor and outdoor units.
The indoor air handler is usually mounted high on a wall. The goal is to allow air to circulate evenly throughout the room.
Good placement typically means:
Installers also consider the path for the refrigerant lines. The shorter the line set between the indoor and outdoor unit, the more efficient the system will run.
The outdoor condenser needs:
Professional installers also look at noise and airflow patterns around the home.
Next in how to install a mini-split is mounting the indoor unit.
A metal mounting plate attaches securely to wall studs. The air handler then locks onto that plate.
Before the unit goes up, the installer drills a small hole through the wall. This opening allows the refrigerant lines, electrical cable, and drain line to pass outside.
This step sounds simple, but it requires careful measurement. If the hole is angled incorrectly or placed poorly, drainage problems and efficiency issues can follow.
The hole that connects indoor and outdoor units is usually about three inches wide.
Inside this opening run:
This bundle is called the line set.
A professional installer seals this opening carefully to prevent moisture, insects, and air leaks from entering the home.
Many people researching how to install a mini-split underestimate this step. Proper sealing and insulation of the line set protects both efficiency and home structure.
The outdoor unit is the heart of the system. It compresses refrigerant and releases heat outside.
During how to install a mini-split, technicians place the condenser on:
The unit must remain level. If it tilts or vibrates, performance and lifespan suffer.
Installers also ensure the condenser has proper clearance from walls and landscaping so air can flow freely.
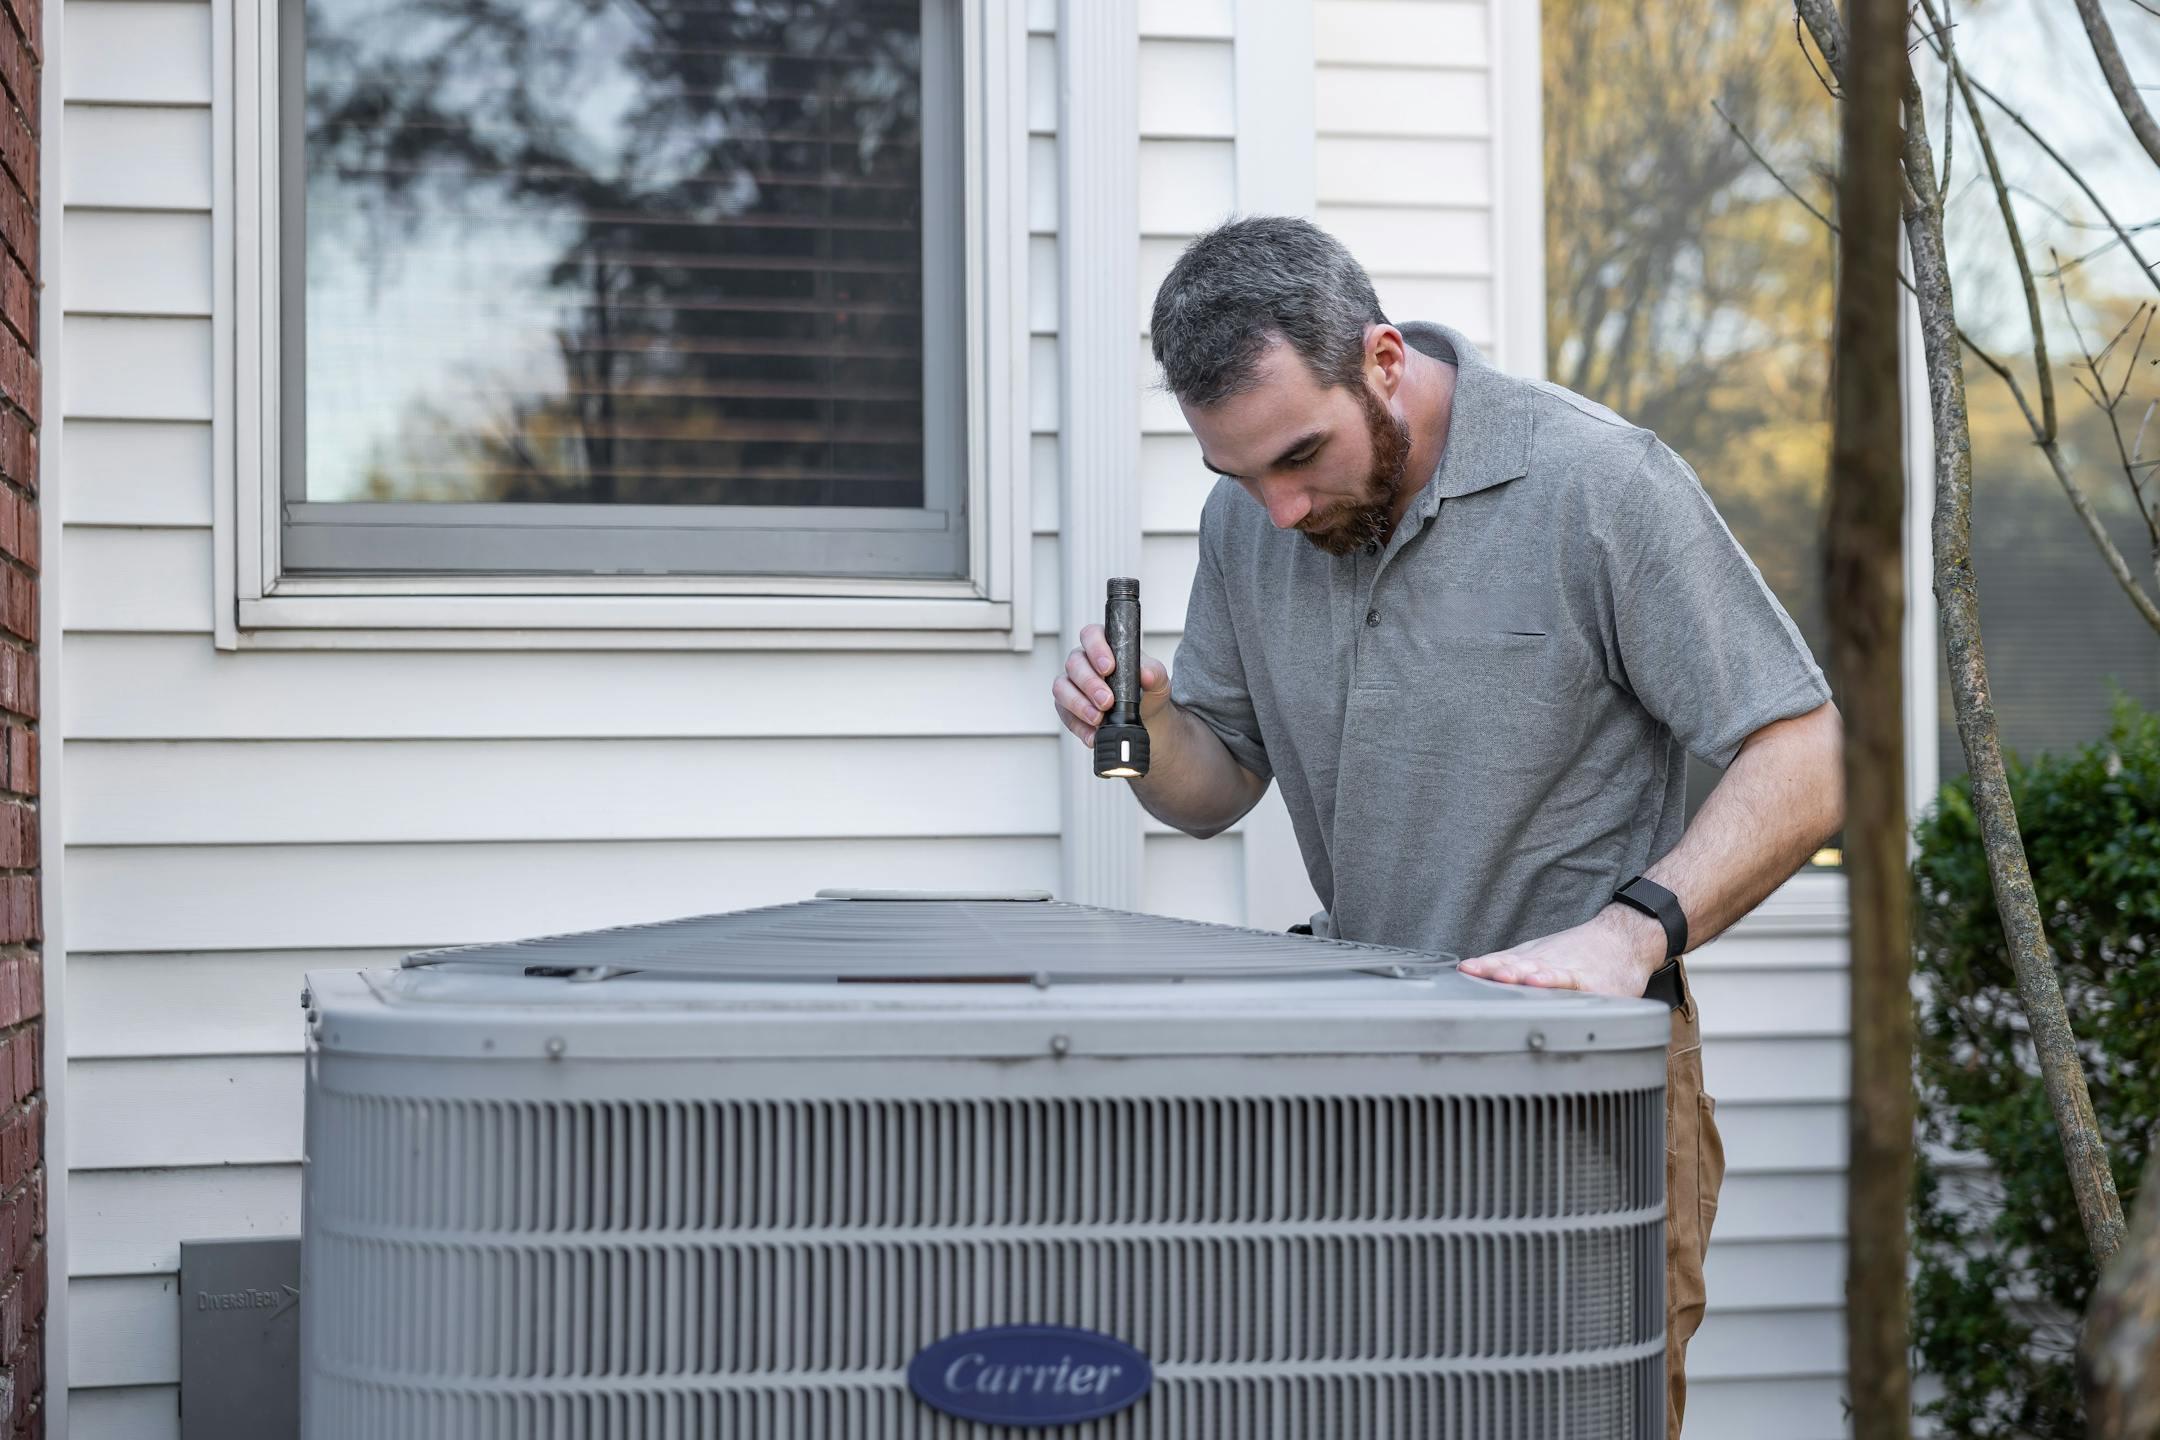
This step is where professional expertise becomes essential.
The refrigerant lines connect the indoor air handler and outdoor condenser. They carry refrigerant that absorbs heat from inside the home and releases it outside.
To complete this stage of how to install a mini-split, technicians:
Improper connections cause refrigerant leaks. And refrigerant handling requires EPA certification in the United States.
This is one of the biggest reasons homeowners should not attempt installation themselves.
Mini split systems require electrical connections between the indoor and outdoor units, as well as a dedicated power supply.
During this phase of how to install a mini-split, electricians or HVAC technicians:
Electrical work must follow strict safety codes. Incorrect wiring can damage the system or create fire hazards.
Mini splits remove humidity from the air as they cool. That moisture drains through a small pipe.
Proper drainage is critical.
Installers make sure the line:
A poorly installed drain line leads to leaks or water damage inside the home.
This step is the most technical part of how to install a mini-split.
Before refrigerant flows through the system, technicians use a vacuum pump to remove air and moisture from the lines. This process protects the compressor and ensures efficient operation.
After vacuuming the lines, they release refrigerant from the condenser into the system.
Without this step, the equipment can fail quickly.
This is another reason mini split installation should always be handled by trained HVAC professionals.
The final step in how to install a mini-split is system testing.
Technicians run the unit through heating and cooling cycles to check:
They also program the remote control or thermostat and show homeowners how to operate the system.
Mini split installation requires specialized tools, including:
Most homeowners do not own this equipment, and using it incorrectly can damage the system.
It’s helpful to understand how to install a mini-split, but installation is not a safe DIY project.
Professional installation protects:
Experienced HVAC technicians also size the system properly for your home. An incorrectly sized unit struggles to heat or cool the space.
For homeowners in Michigan—especially around Ann Arbor and Saline—working with a local company also means faster service and long-term support.
Mini split systems are an excellent solution for homes without ductwork, additions, and spaces that need independent temperature control.
Understanding how to install a mini-split helps you make informed decisions and communicate with your HVAC contractor. But the actual installation should always be handled by trained professionals who know the equipment, the codes, and the safety requirements.
If you're considering a mini split system for your home or business, talk with the team at Lashbrook Mechanical. With more than 13 years of experience serving Michigan homeowners, we can help you choose the right system and install it correctly so it performs the way it should. Schedule a service consultation and get clear answers about the best heating and cooling solution for your space.